Microsoft Dynamic Navision 2013 R2 installation Steps
Installing the Microsoft Dynamics Navision(NAV) we use operating system Windows 7 ultimate – 64 SP 1 following requirement for installing NAV.
-Windows 7 Ultimate 64 Bit Operating System
-Windows 7 Ultimate– SP1 updates (Click Here to download)
-Windows Power shell 3.0 (Click here to download)
-SQL expresses 2012
If you have Visual studio 2010 is already install in your computer then you have to also install its Service pack 1 for Visual studio 2010. (Click here to download).
- Download the setup file as per you operating system architecture (32/64 bit)(Click here to download).
- Before installation start for Navision first we install SQL EXPRESS 2012 separately.
- Then we click on setup file of NAV 2013 R2. which will display following screen.
Then accept the condition and go next. As show in below image
5 Now there are 2 options for installing the NAV 1stfor install all the related component and 2nd is custom installation of NAV in which you can install component as per your requirement. Here we select 1st option and continue our work.
6. Now Click on Next. Button.
7. It will start installation.
Now finally Microsoft Dynamics Navision is installed successfully. There is actually 3 main module
is install.
a. Microsoft Dynamics Navision R2 Client Application
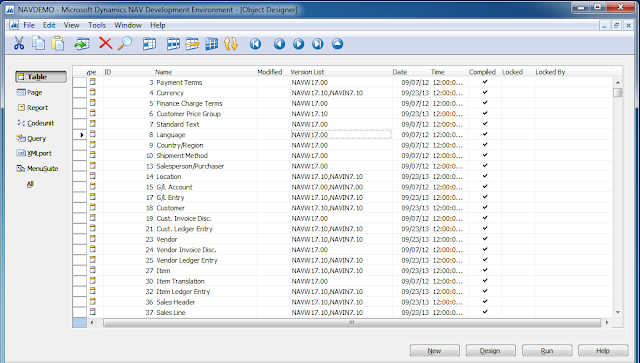
b. Microsoft Dynamics Navision R2 Development Environment
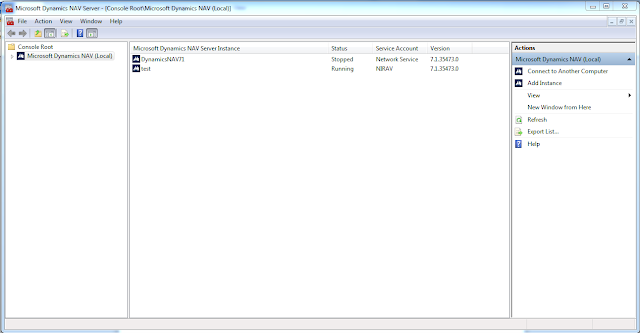
c. Microsoft Dynamics Navision Administration
Microsoft Dynamics Navision Administration
Microsoft Dynamics Navision Development Environment
Microsoft Dynamics Navision Client Application
If you have any query regarding installation of Microsoft Dynamic Navision. You can ask free me in comment section. n005ninirav@gmail.com


Comments
Post a Comment